Discount codes
proCreate promo and influencer codes, apply them at checkout, and measure their net impact and attribution.
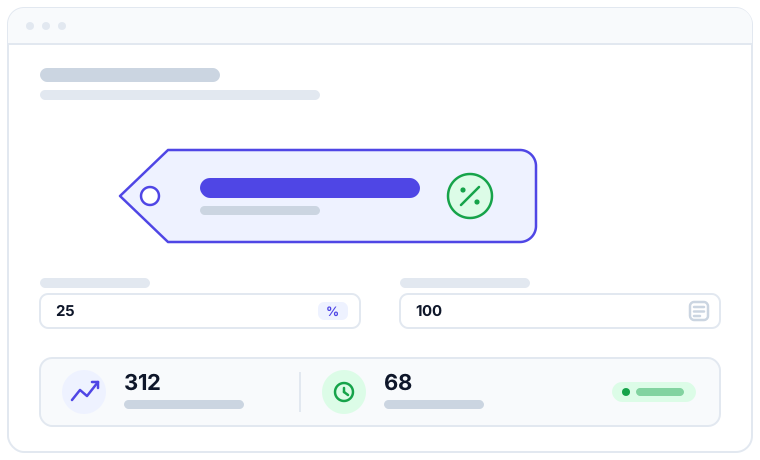
Discount codes let you offer a percentage or fixed-amount discount that customers or staff enter at checkout. Unlike a hand-written "10% off" note or a spreadsheet of coupon names, every code is tracked automatically, so you can see exactly how many times it was used, which influencer drove it, and how much real revenue it produced.
Discounts must be enabled as a module for your organization before the Discounts section appears. If the module is off, applying a code at the point of sale is silently ignored — no discount is taken. Module availability is managed by Apolaris; contact support to turn it on.
Who can do this
There are two distinct permissions, because applying a code at checkout is not the same as managing the codes themselves.
| Action | Who can do it |
|---|---|
| Create, edit, delete codes; read the impact report | A manager (is_manager), or a non-manager with can_manage_discounts |
| Apply a code during a sale at the POS | A manager (is_manager), or a non-manager with can_manage_sales or can_manage_discounts |
A manager always passes both checks. A cashier who has can_manage_sales can apply codes at checkout even without can_manage_discounts — they just cannot create or change codes or open the impact report. See Users & privileges.
Create a discount code
Discounts live in their own section.
- Open the Discounts section.
- Click New code.
- Enter the code customers will type (for example,
LUNA15). Codes are stored in upper case and matched case-insensitively, soluna15andLUNA15are the same code. Each code must be unique within your organization. - Optionally set a campaign name (internal only) and the influencer name / social handle that promotes the code — this is the attribution dimension your impact report measures.
- Choose the type: a percentage off (0–100), or a fixed amount off.
- Set any limits you need (see below).
- Save. The code is now ready to share.
Give each influencer or campaign its own code (e.g. LUNA15, SUMMER20) and fill in the influencer name/handle. That way every redemption is attributed to the right source and the impact report stays clean.
Limits you can set
A code can carry any combination of these constraints. At checkout, the code is validated against all of them in order, and the first one that fails blocks the redemption.
| Limit | Field | Effect |
|---|---|---|
| Active toggle | is_active |
An inactive code is rejected with "not active". |
| Start date | starts_at |
The code is rejected as "not valid yet" before this date. |
| End / expiry date | ends_at |
The code is rejected as "expired" after this date. |
| Minimum purchase | min_purchase |
The code is rejected unless the (gross) subtotal meets this amount. |
| Total redemptions | max_uses |
The code is rejected once total uses reach this number (0 = unlimited). |
| Per-customer cap | max_uses_per_customer |
A customer who has already used it this many times is rejected (0 = unlimited). |
A missing limit or a wrong percentage applies to every redemption. A code with no expiry, no usage cap, and a 50% value will keep discounting indefinitely. Double-check the type, value, and limits before you share a code.
Apply a code at checkout
A saved code can be redeemed in two places:
- At the POS — during a sale, enter the code in the discount field. The total updates instantly. See Sales & point of sale.
- At portal / online checkout — customers booking or paying online type the code themselves, and it is validated before payment.
When a code is applied at the POS, the discount is re-validated against all its limits before it is honored. If the code is invalid (expired, over its cap, subtotal too low), the sale still goes through — you just see a warning and no discount is applied.
The online / gateway-finalize path is different: because the customer was already charged the discounted amount at the payment gateway, that path records the discount as charged without re-validating limits, so the booking reflects exactly what was paid.
How the discount is recorded
When a code is applied, the sale records the net amount — the discounted price the customer actually paid:
- Sale amount is set to the net total (
gross − discount, never below zero). - Discount amount is stored separately, so the markdown is always visible for reporting and never hidden inside the price.
- The gross (pre-discount) subtotal is read from the sale's line items.
Each redemption also writes a row to the attribution ledger. That ledger snapshots the gross, discount, and net amounts plus the source (pos for in-store, online for portal), so the impact report survives even if the underlying sale is later edited or deleted.
Recording the sale net has cross-data effects. Because the sale amount becomes the discounted total: - Loyalty points earned on that sale are calculated on the net (discounted) amount, not the original price. See Loyalty program. - Analytics revenue reflects the net money taken in, not the list price. See Analytics & reporting. The discount impact report keeps the gross amount separately, so you can still measure full campaign value (ROI) even though revenue elsewhere is net.
Measure impact
The Discounts list shows organization-wide KPIs across all codes: number of codes, active codes, total uses, total gross, total discount given, and total net.
Open any code to see its impact report:
- Redemptions — how many times the code was used.
- Gross — the pre-discount value of orders that used the code.
- Discount given — the total markdown cost of the campaign.
- Net — the net revenue those orders produced.
- Unique customers — distinct customers who redeemed the code.
- Monthly trend — uses, gross, discount, and net broken down by month.
This turns every promo into a measurable experiment. You can compare codes side by side, see which influencer actually drives sales, and decide where to spend next — something a stack of paper coupons or a disconnected discount app can never tell you.
Use for influencer campaigns
- Create a unique code for the influencer and fill in the influencer name and handle.
- Set a start date, an expiry, and/or a redemption cap to match the campaign window.
- Share the code with the influencer to publish.
- After the campaign, open the impact report to read redemptions, gross, discount cost, net, and the monthly trend — and use those numbers to negotiate or renew.
For the full step-by-step campaign playbook, see Run an influencer promo.
Tips
- Keep codes short and easy to type — customers enter them by hand (case does not matter).
- Set an expiry (
ends_at) on seasonal promos so they retire themselves. - Use a minimum purchase to protect margin on aggressive percentages.
- Cap total redemptions on high-value offers so a leaked code can't run away.
- Review the impact report before repeating a campaign — let the data decide.
Sites, currency, and usage history
Choose Site when creating or editing a code. Organization-wide managers can choose All sites or one site; branch-restricted staff must select a site they can access. Existing codes remain available at all sites. Codes are still unique within the organization: use different codes for different branch offers.
The site is checked again when the sale is saved. A booking supplies its actual site; a sale without a booking uses the employee's site only when there is exactly one. If an employee works at multiple sites, use a booking for a site-specific offer. The portal refuses an invalid code so the cashier can review the amount before continuing.
Use the Site filter on the code list to see the codes and redemptions for that branch. Branch-restricted staff see only their branches' redemptions, even for an organization-wide code, and cannot edit organization-wide codes. Old redemptions whose location cannot be reliably identified remain available to organization-wide managers only.
Amounts show the organization's ISO currency, such as 200 MXN or 12,50 EUR, using the selected number format. Fixed discounts and minimum purchases use this same currency; no exchange-rate conversion is performed. Dates use the organization's time zone. Status distinguishes scheduled, active, expired, inactive, and exhausted codes. A per-customer limit requires an identified customer.
Deleting a code that has been used deactivates it and preserves its history. Only unused codes are deleted. The report measures sales associated with a code, not proof that the code caused additional revenue; refunds and campaign spending are not deducted automatically.
Open Sales & Finance → Promotions → Discount reports for the overview, or choose View report beside a code for its monthly breakdown and recent uses.